DATE: 2021/11/24
Technical Skills | Identification Column of SEER Intelligent: QR Code Navigation
Ⅰ. Use scenarios of QR code navigation
SEER Intelligent's AGV supports multiple navigation methods, and QR code navigation is one of them. In a narrow, open, or environment with severe changes, accurate and stable positioning and navigation can be achieved by pasting the QR code for navigation and the PGV reader installed under the AGV body. PGV: Position Guided Vision, which can be used to support QR code navigation or ribbon navigation.
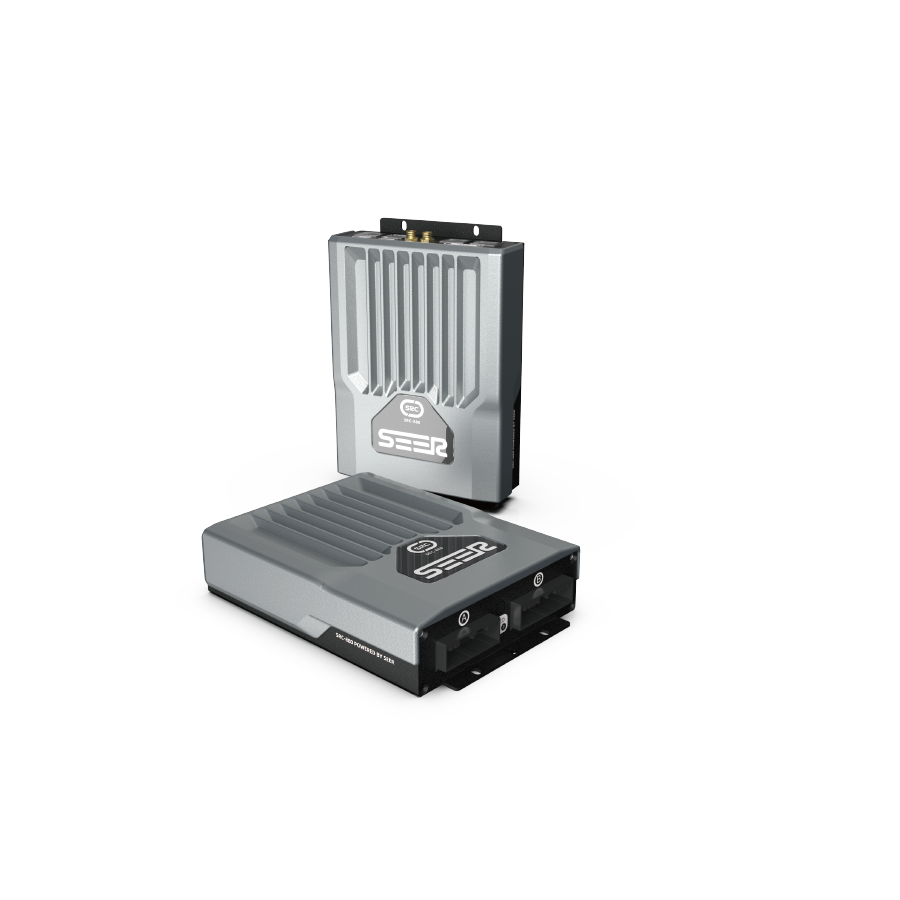
Ⅱ. Installation and precautions for PGV
Generally, PGV is installed at the bottom of the trolley, and it is vertically illuminated to the ground. When installing, first ensure that the height of the PGV from the ground is moderate, and ensure that the PGV can see the QR code completely when the QR code is directly below the PGV; secondly, you need to pay attention to the installation direction and angle of the PGV and try to ensure that the PGV is installed horizontally.
Ⅲ. Model configuration
The yaw (r) angle of the PGV needs to be read from the PGV by paralleling the QR code with the car, and then the yaw in the PGV configuration is -angle.
After filling in the yaw value correctly, perform PGV calibration. After the calibration, you can see the parameter list as shown in the figure below. The units xUnit and yUnit are the coordinate values configured in PGV, which are filled in according to the actual configuration; the coordinate unit configured in this document is 0.1mm, so fill in 0.0001m.

"func" refers to the function of the position-guided vision system. Please check it according to the actual situation.
adjust: adjust;
localization: positioning;
adjust Localization: positioning + adjustment of the angle of reaching the site.

After the configuration is complete, you can see the QR code reading the information in the [Operation Status]-[PGV] column:

Ⅳ. PGV calibration
SEER Intelligent provides two PGV calibration methods
PGV calibration and PGV-odometer calibration

1. PGV calibration:
PGV calibration applies to cars equipped with PGV (upper-view or lower-view) equipment. Each PGV equipment corresponds to a calibration item of this type.
PGV calibration needs to collect: the QR code pose data and odometer output detected by PGV. To enable the robot to detect the QR code with the PGV to be calibrated in the initial state, the robot will perform the following operations: adjust the position of the robot to align the PGV to the center of the QR code; advance and retreat several times; rotate around the center of the PGV a circle (Described in the model file).
2. PGV-odometer calibration:
PGV-odometer calibration is suitable for two-wheel differential cars that are not equipped with laser radar equipment that is ticked for positioning and equipped with a lower-view PGV (such cars always rely on the detection of QR codes for positioning). Each lower-view PGV corresponds to a calibration item of this type. PGV-odometer calibration needs to collect: car positioning data and encoder data of walking motor from PGV. In the PGV-odometer calibration process, it is necessary to obtain as much positioning data as possible from the pose information of the QR code detected by the PGV, so a dense area of the QR code is required for calibration. The simplest form of this area is a continuous bar-shaped QR code area, as shown in the figure below:

This bar-shaped QR code area also has the following attributes (see the figure below)
The x-axis of the QR code coordinate system corresponds to the long side of the bar-shaped area; in the QR code area, the QR code at the end of the QR code coordinate system in the negative x-direction is called the starting QR code, and when the PGV-odometer calibration is executed, the robot should be located within the range where PGV can detect this QR code.

In the initial state, the robot can use the PGV to be calibrated to detect the initial QR code. After calibration starts, the robot will perform the following operations: adjust the position of the robot to align the PGV to the center of the initial QR code; move forward and back several times; rotate in place counterclockwise and clockwise several times.
3. Instructions about the operation of PGV calibration:
① Move the car to the center position where the PGV can detect the QR code, and the QR code can always be detected when the robot rotates in place;
② Turn the front of the car to the center of the area where the QR code can be detected, so that the car can detect the QR code within the longest possible straight distance;
③ Check the calibration to perform the calibration, and set the calibration result after completion
Note: If the calibration item related to the odometer is displayed as uncalibrated, perform the corresponding calibration and set the calibration result; currently, the calibration of PGV depends on the laser, and the laser must be calibrated before the robot can be calibrated.
Ⅴ. Requirements for pasting QR code
The QR code is generally pasted on the ground. When pasting, you must first ensure that the QR code is pasted smoothly. If the pasting is not smooth, it will cause the PGV identification to fail; the QR code cannot be unclearly printed or smeared, which will cause PGV identification to fail. When pasting a QR code, you need to ensure that the orientation of the QR code is consistent and it is best to paste it along a straight line. Plan the path, especially the mutual exclusion area, before pasting the QR code. Use ink to mark the line before pasting, and the two parallel lines must be absolutely parallel (otherwise the map planning will be difficult to carry out). When pasting the QR code, first record the space between the QR code, which can help create a map.
Ⅵ. Instructions about QR code mapping
1. Carry out mapping at the edge of the map (as shown in the figure), adjust the setting parameters and map detection parameters. First create a QR code (the interval is smaller than one meter, consistent with the actual situation of pasting QR code) and then build the required sites, which are built on the QR code (Roboshop Pro 2.3.1.4 and above edition can directly copy the coordinates).


2. Confirm the positioning of the robot: Use the high-level area as shown in the figure to frame the map. When the robot model in the high-level area in the map scans the QR code, the machine will automatically find the positioning.

Ⅶ. Tutorial about QR code navigation setting
1. Get the location of the QR code:
Before using the QR code to navigate the car, make sure that the robot has been configured and calibrated; after the QR code is posted on-site, select the robot on the Roboshop Pro homepage, and the Start Identification button will appear on the right side of the toolbar. As shown below:

Click Start Identification, and then manually control the robot to move to the bottom of the QR code. After the robot stops moving, the position of the QR code will be displayed, and then the QR code will be drawn on the map, and it will be controlled under all the QR codes in turn until all the QR codes are identified, click to stop identification. At this time, upload the current map and successfully record the world coordinate positions of all QR codes, as shown in the following figure:

2. Add a site to the QR code:
In the QR code navigation, the robot reads the information of the QR code to determine the position of the robot at this time, and the robot uses the sites (for example, AP site) and routes on the map to determine the next direction of travel; in the map editing mode, first select the site (for example, AP) from the toolbar on the left, drop it anywhere near the QR code, and then drag the AP site. When the AP site is close to the QR code, the AP site will automatically be attached to the QR code, as shown in the figure below:

Follow this step to attach AP site to all QR codes and plan a route, as shown in the figure below;

Note: The orientation of the QR code on the map must be consistent with the orientation of the QR code on the actual ground; the direction of the AP site can be adjusted according to the actual needs of .smap;
3. Positioning of QR code area:
Next, select the area that needs to use the QR code to navigate. In the map editing, select the Area ≥ and select the QR code area in the Advanced Area to cover the area that needs to be navigated by the QR code, as shown in the following figure:

After the configuration of the area is completed, save and push, and then the robot will automatically switch to the function of QR code positioning after running to the area, and automatically switch to laser positioning after leaving the area;
4. Notes for QR code navigation:
① The TagArea area must cover all sites and routes that require QR code navigation;
② On .smap, ensure that the number of the QR code corresponds to the actual location one-to-one.
③ The interval between the QR code is generally required to be within 1m. (The movement between the code and the code is an open-loop movement. In theory, the smaller the distance, the higher the accuracy to reach each site. In addition, the AP site may not be established on the QR code in the case of small code spacing, but the accuracy of reaching the site will be slightly impacted).
④ The QR code should be pasted on a straight line as much as possible. If it is pasted incorrectly, it may cause poor accuracy of reaching the site and the slowing down of the robot after reaching this site.
⑤ Note that the QR code has its own number, and the QR code used should not have the same number. Scanning the next QR code will cover the previous QR code.
Ⅷ. Relevant parameter description
In the PGV configuration interface of the robot model, some parameters need to be configured. These parameters are explained below:
The first is under basic:
onOpenTime: pgv boot time. Configure PGV boot time;
id: equipment id. The number of the position guided vision system;
x: the position on the x-axis. The x position in the right-hand coordinate system, such as the coordinates of the car model;
y: the position on the y axis. The y position in the right-hand coordinate system, such as the coordinates of the car model;
z: the position on the z-axis. The z position in the right-hand coordinate system, and the distance from the lens to the QR code;
yaw: installation angle. The orientation angle in the right-hand coordinate system, such as the coordinates of the car model (when the orientation of the PGV is not clear, you can align the x-direction of the QR code with the x-direction of the car body and place it in the PGV field of view. Read the angle this time when PGV returns(it is a radian system, which should be converted), take the opposite number, and fill in the model file);
Upside: whether it is installed in the positive direction. Whether the configured position guided vision system is installed in the positive direction. If it is the positive direction, check Upside, while if not, don't check.
xUnit: x unit. When PGV returns, the X value unit, which should be converted by multiplying the coefficient to m; it can be obtained by viewing the PGV instruction manual;
xRange: X direction range. The range of X-direction that PGV can see, and the unit is m. Please fill in according to the actual situation;
yUnit: y unit. When PGV returns, the Y value unit, which should be converted by multiplying the coefficient to m; it can be obtained by viewing the PGV instruction manual;
yRange: Y direction range. The range of Y direction that PGV can see, and the unit is m. Please fill in according to the actual situation;
angle unit: Angle unit. The unit of angle when PGV returns, which should be converted to "°" unit;
Then there are the following parameters under func:
adjust: adjust. When the AGV reaches the target site, it will be adjusted according to the position of the QR code;
localization: positioning;
adjustLocalization: adjustment plus positioning;
Finally, the following parameters under the brand:
P+F-R4-485: Brand name, which has been adapted and can be selected;
MS-PGV-485: Brand name, which has been adapted and can be selected;
Ⅸ. Related alarms and FAQ
"55503": "rbk_pgv_loc is not activated", pgv is not activated;
"54070": "PGV cannot find codes", pgv does not recognize the QR code;
"52127": "PGV connection error", connection error of pgv;
"52128": "PGV info with mismatched device id", pgv does not match the device id.
/1.png)
/1.png)